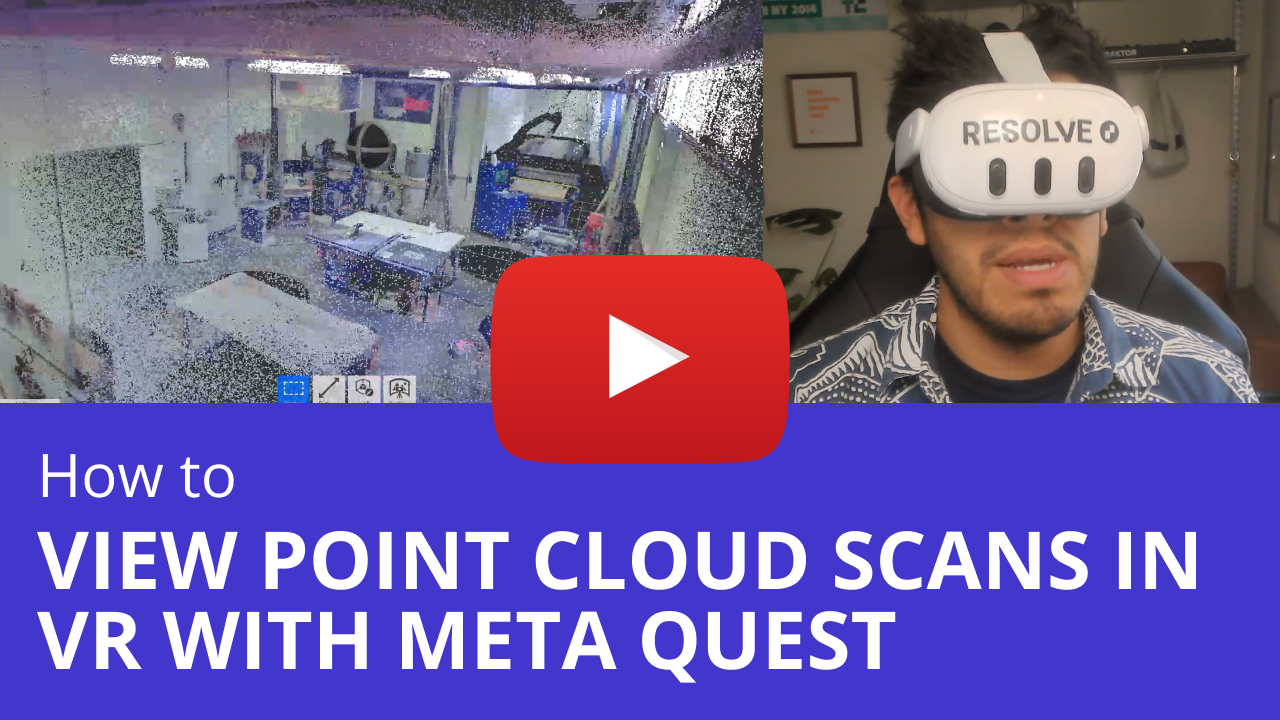
Reviewing point clouds in VR with Meta Quest and Resolve
Learn how to convert your reality capture point cloud data into a format that can be reviewed in VR with Meta Quest and Resolve.
This is a step by step guide on how to convert your reality capture data into a format that can be reviewed in VR using a wireless Meta Quest headset with the Resolve application. We will show you how to take a point cloud file, specifically from Autodesk Recap, and convert it into a mesh which can than be combined with other BIM data.
You can also watch a longer video version of this tutorial on our YouTube channel:
One of the remarkable benefits of this process is the ability to virtually teleport anyone from around the world directly to your site, eliminating the need for physical travel. Reality capture combined with XR allows you to bring the site to viewers, enabling them to walk through it virtually, address queries, identify potential issues, and overlay BIM (Building Information Modeling) data—all from the comfort of your desk.
And with the power of Resolve's Wellington engine, the size of the file isn't a problem.
Here's a basic outline of the workflow which we will detail below and is applicable to most reality capture applications:
- Open point cloud data in reality capture software
- Convert the point cloud to a mesh
- Import the mesh data into Navisworks to combine with BIM
- Review in VR with Meta Quest and Resolve
Open point cloud data in reality capture software
To begin load your point cloud in Autodesk ReCap Pro. For this guide we will be using the ReCap sample project.
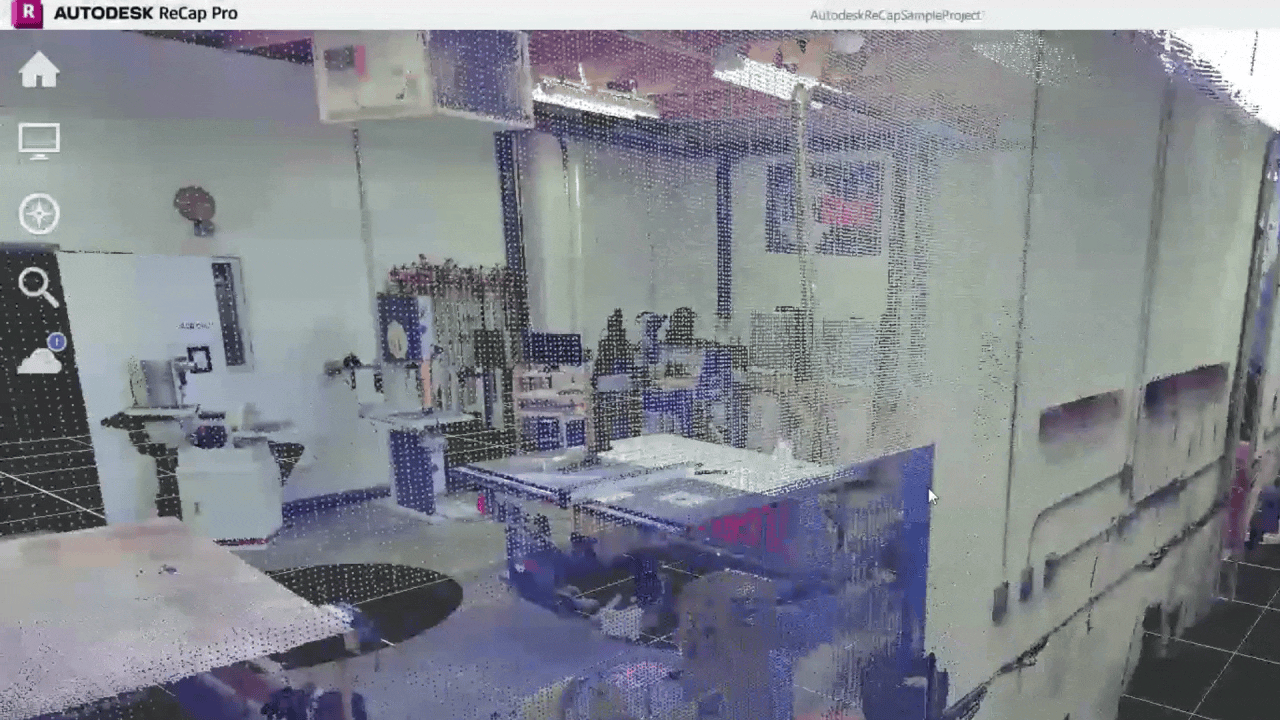
This scan represents a physical site that has been captured as a point cloud. These point cloud data files are typically generated by VDC (Virtual Design and Construction) teams who capture existing site conditions before construction begins or to track on-site progress.
Convert Point Cloud to Mesh
The next step is to convert this point cloud data into a mesh format that can be viewed in Resolve.

You will notice that what is viewed in ReCap is composed of numerous small points with gaps between the points - that is expected of a point cloud. In order to view it with Resolve we need to convert the point cloud into a mesh which fills in the gap between the points.
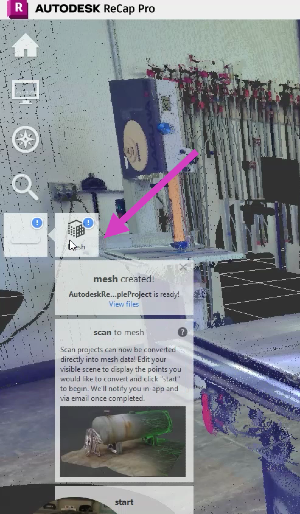
To convert the point cloud to a mesh with Autodesk ReCap navigate to the left menu, hover over the cloud icon, and access the mesh menu.
The mesh processing in ReCap is performed on the cloud. Converting a point cloud into a mesh is a compute intensive process so Autodesk has opted to do this in the cloud for better, faster results.
Tip: Other software like Cintoo, Prevu3D, Cupix, etc. have similar functionality to convert point clouds into meshes, which can be processed either on the cloud or locally.
First, you'll choose a name and destination for your file.
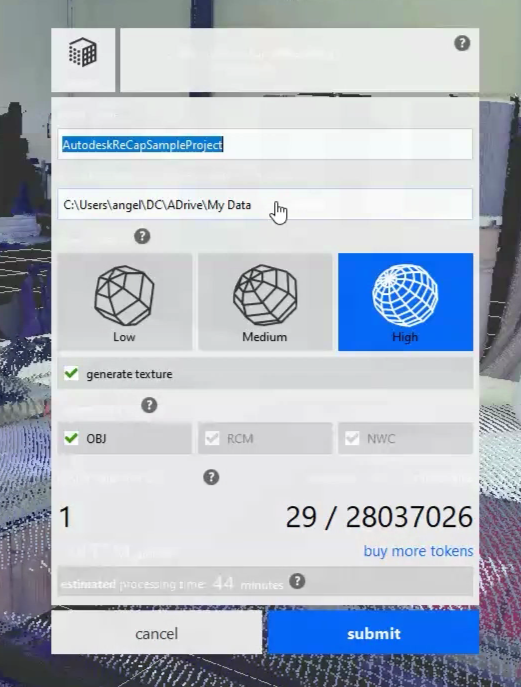
Mesh export settings
In Autodesk ReCap you will be presented with several quality options for the mesh conversion—high, medium, or low. The quality you select affects the final mesh - higher quality settings preserve more details at the expense of longer processing times.
We suggest you experiment with these settings to determine what best suits your needs.
In Autodesk ReCap it is crucial to ensure that the "generate texture" option is selected. Without this, the process results in merely a gray, textureless model that only captures the basic shapes of the scanned objects.

Mesh file formats explained
When converting a point cloud scan to a mesh you have a few choices for formats such as OBJ, RCM, and NWC.
Our recommended format is NWC - a Navisworks Cache file. An NWC is especially useful when integrating scans into a Navisworks project combined with BIM data. For instance, if you have a Revit file of a machine shop and plans for remodeling, you can overlay the scan data in the NWC format over the Revit model in Navisworks. Then when you upload to Resolve can see both reality data and BIM data, essentially allowing you to perform augmented reality within a virtual environment.
Tip: If you are using software other than ReCap, the available file formats may vary. Not all software solutions support exporting to Navisworks files. Typically, the OBJ format is available, but it is essential to include all supplementary files such as MTL and textures in a zip file. Another excellent format is FBX, which embeds textures directly into the file, eliminating the need to manage multiple files. The preferred formats to upload into Resolve would be an NWD-based project, followed by FBX, and lastly OBJ as a last resort.
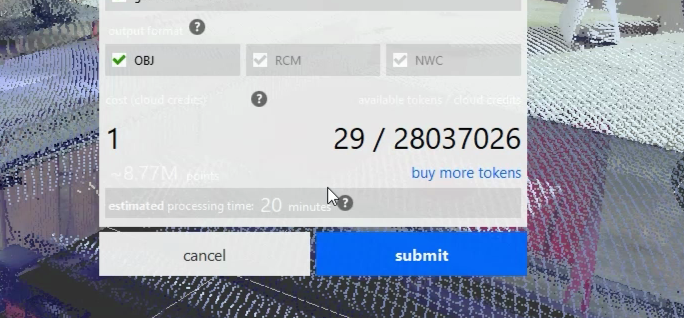
Once you have finalized your selections, you will need to press the submit button. In Autodesk ReCap since this operation happens on the cloud you will need to use cloud tokens to complete the translation.
Upon completion, you will receive a notification through the Autodesk desktop connector and an email confirmation as well.
Tip: For large projects, such as a scan of an entire campus of buildings, the scan to mesh process can be particularly time-consuming. A practical approach would be to use built-in tools like Recap to isolate only the necessary areas for processing and then only convert those areas. You can import multiple point clouds as NWC files into your Navis project.
Import mesh data into Navisworks to combine with BIM
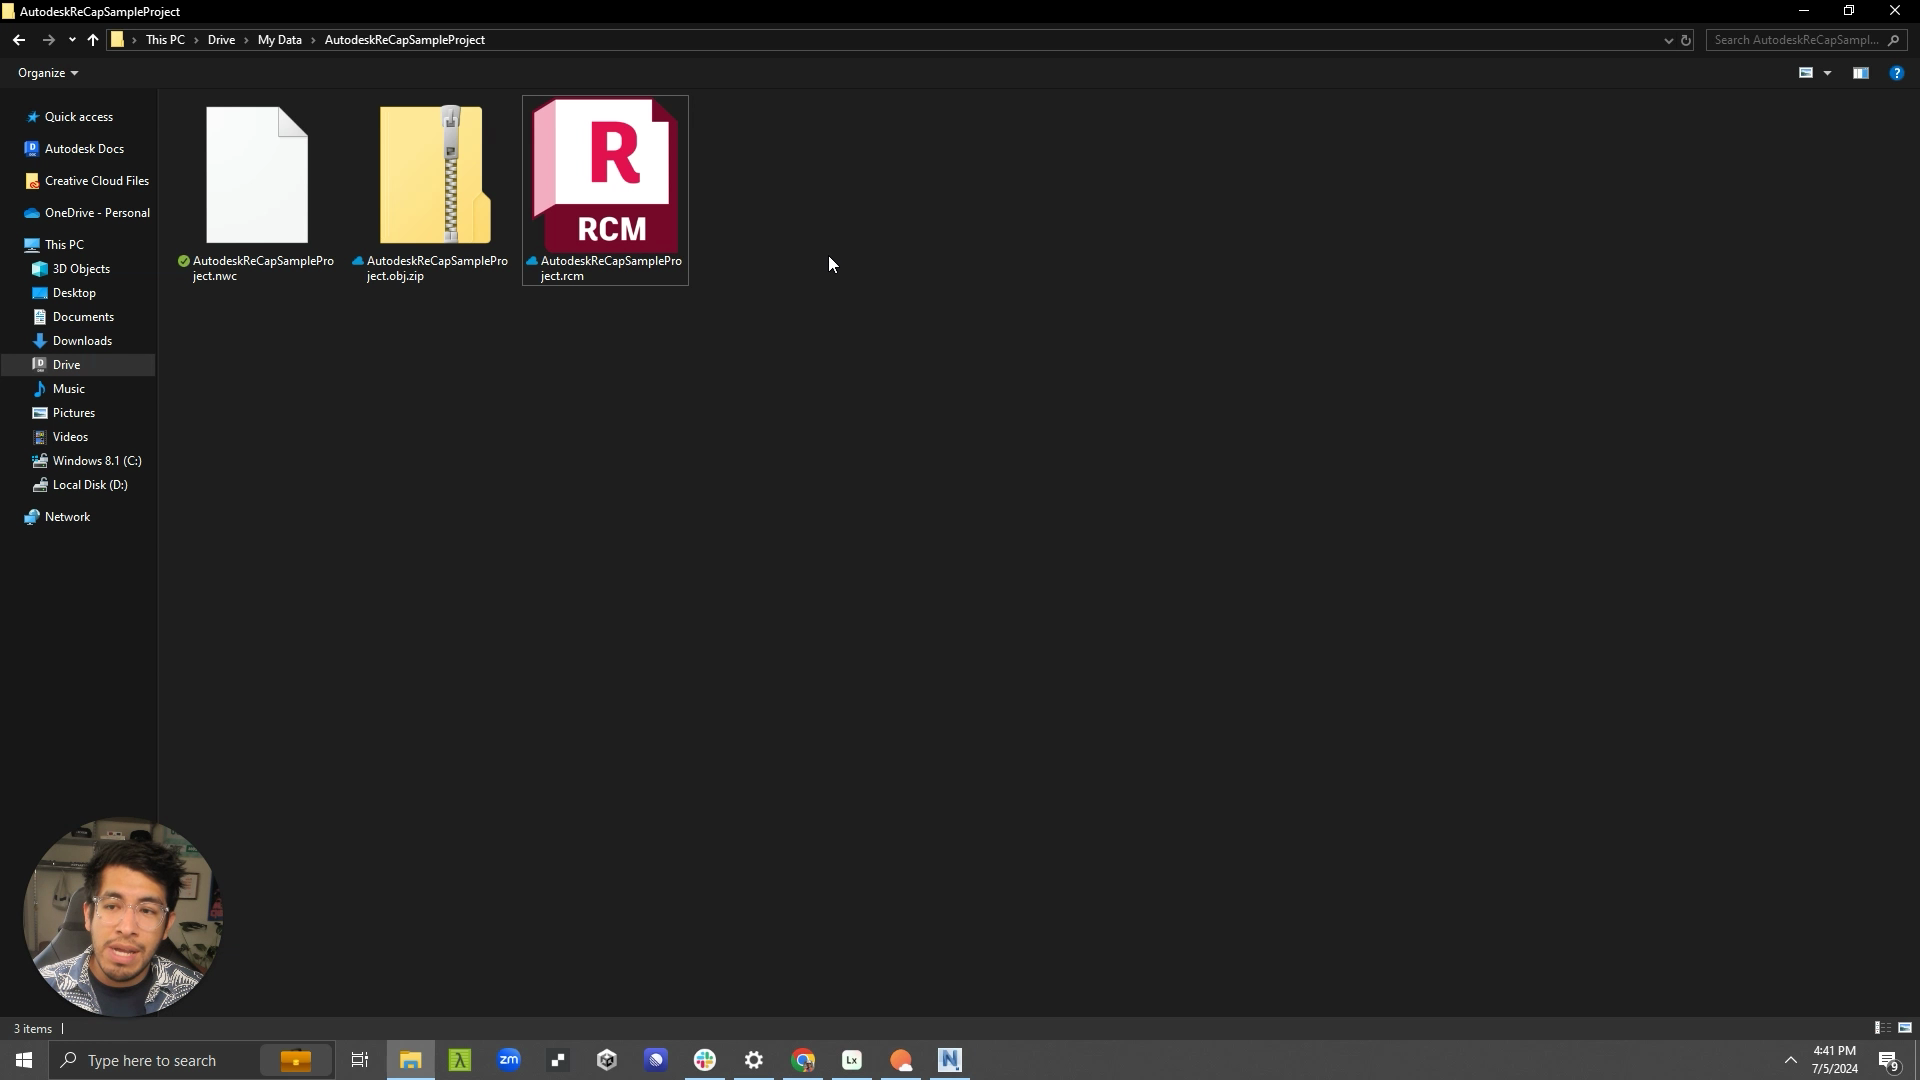
After the files have finished processing, they will be saved to the folder you specified. The output matches the selections made earlier: an NWC file, a zipped OBJ file with all included contents, and an RCM file. In this tutorial, the focus will be on how to utilize the NWC file, although the workflow is similar for other types of data.
The next segment of this tutorial will guide you through the process of importing the exported scan data into Navisworks.
Importing your scan into Navisworks allows you to QA your scan mesh and federate it with other Building Information Modeling (BIM) files.
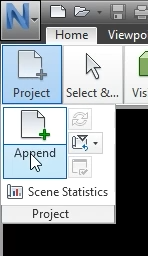
To bring your scan into Navisworks click the Project button and select Append to add new data.
Then navigate the File Explorer to locate the desired data. Initially, you may not see your converted NWC file because Navisworks defaults to searching for NWD file types. By switching the File Explorer settings to NWC the desired files become selectable.
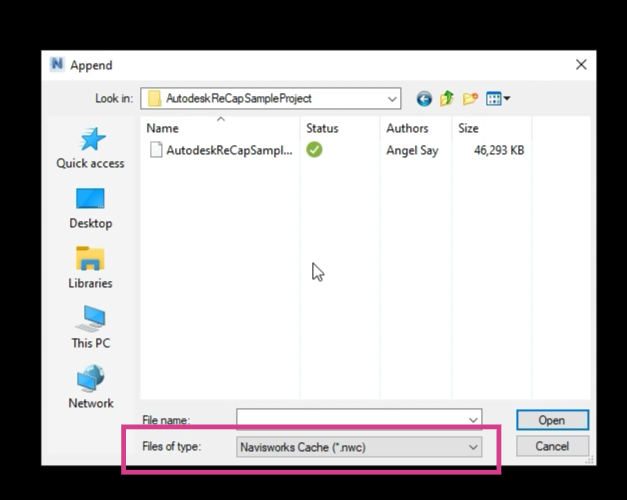
After selecting the appropriate file, click 'open' to initiate the import of the data into Navisworks.
You scan will then be imported into Navisworks and you'll notice it looks different than before. Unlike a point cloud, the imported scan mesh has the gaps between points filled in. The scan to mesh processing creates a more continuous surface but might slightly reduce the resolution.
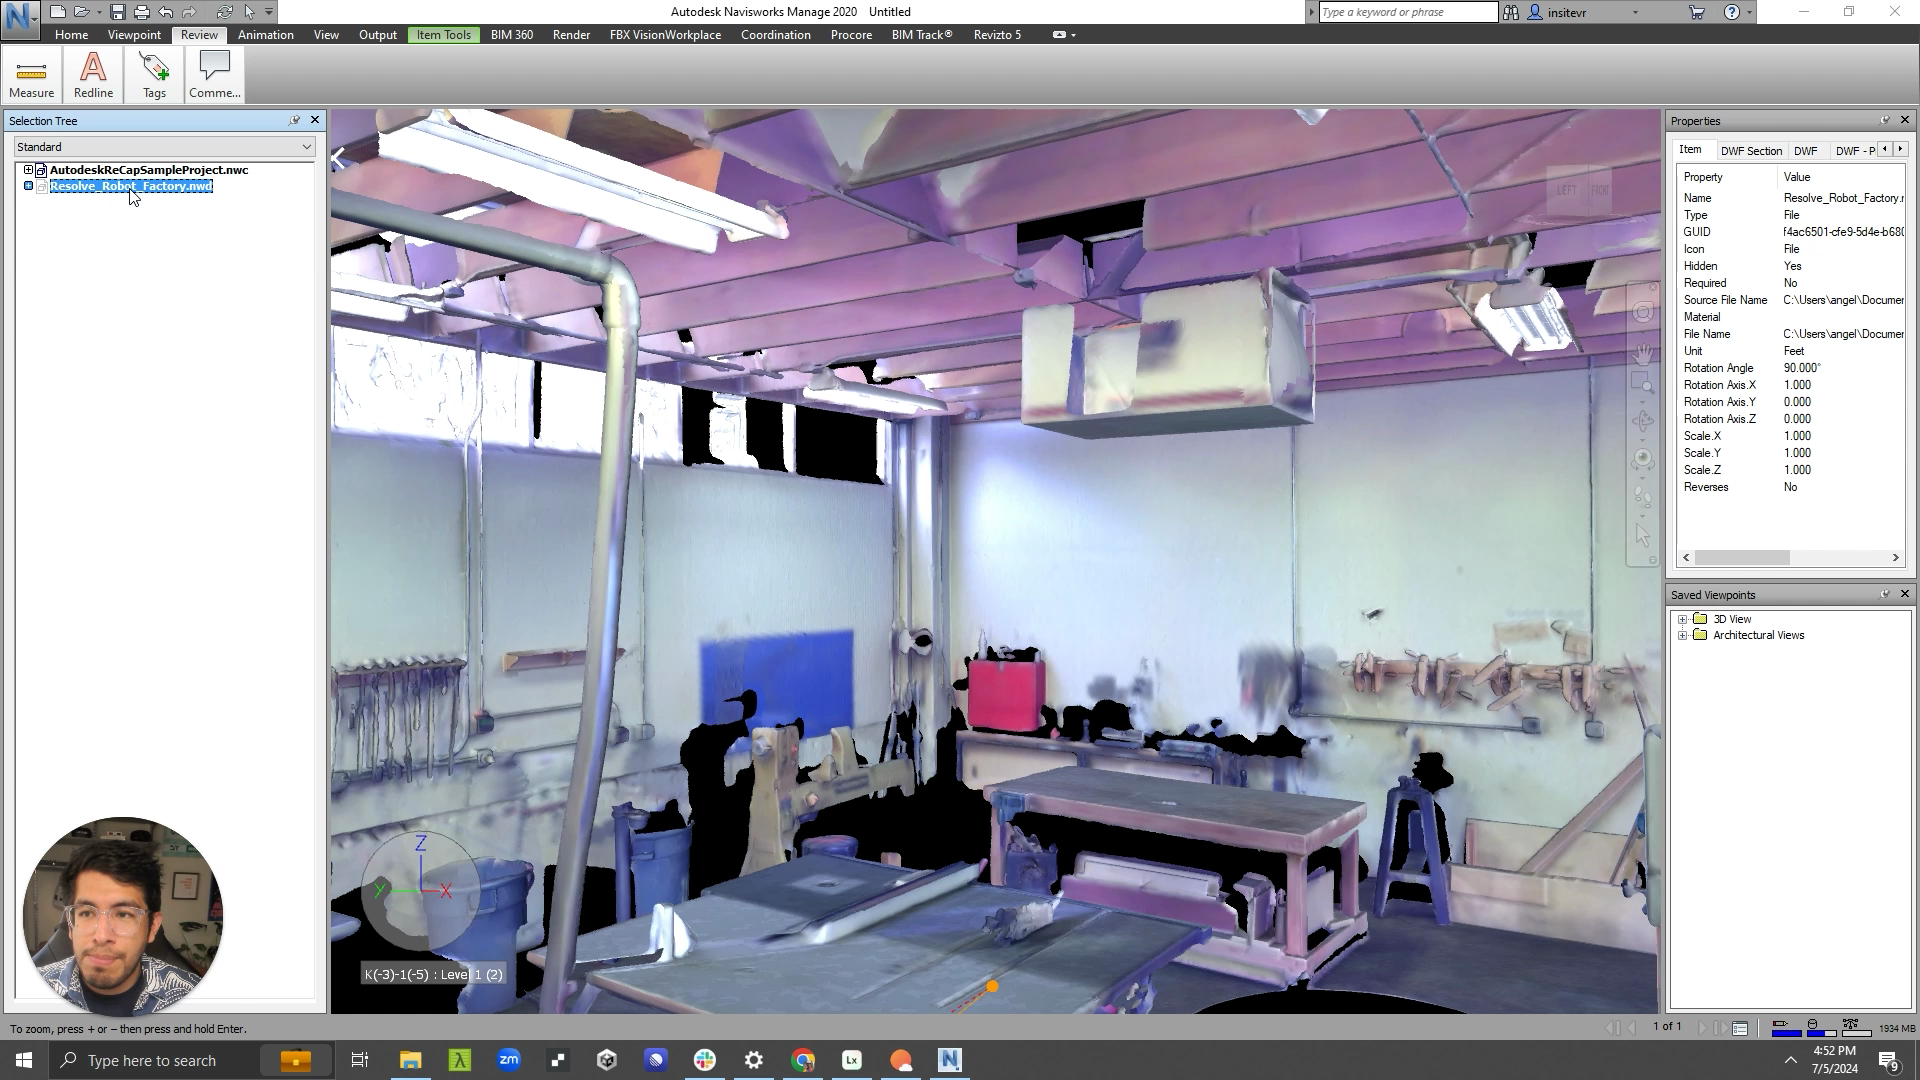
Once in Navisworks you can combine your scan with BIM data from other disciplines.
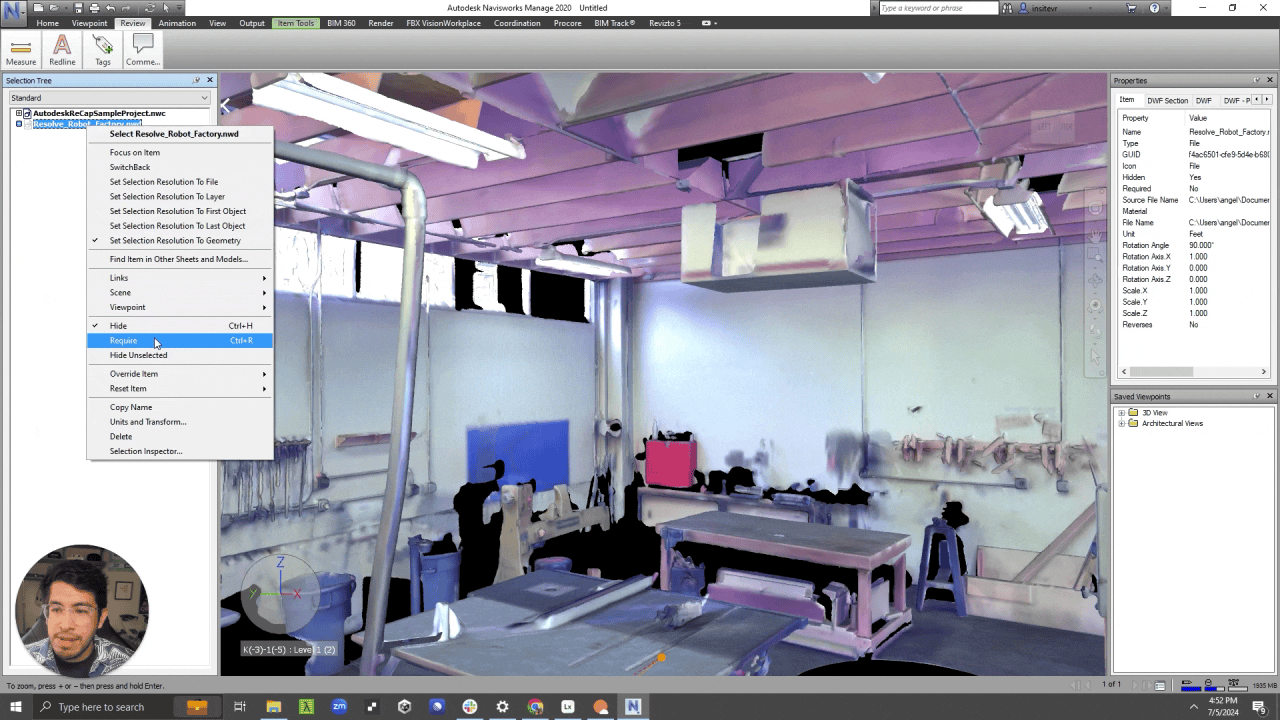
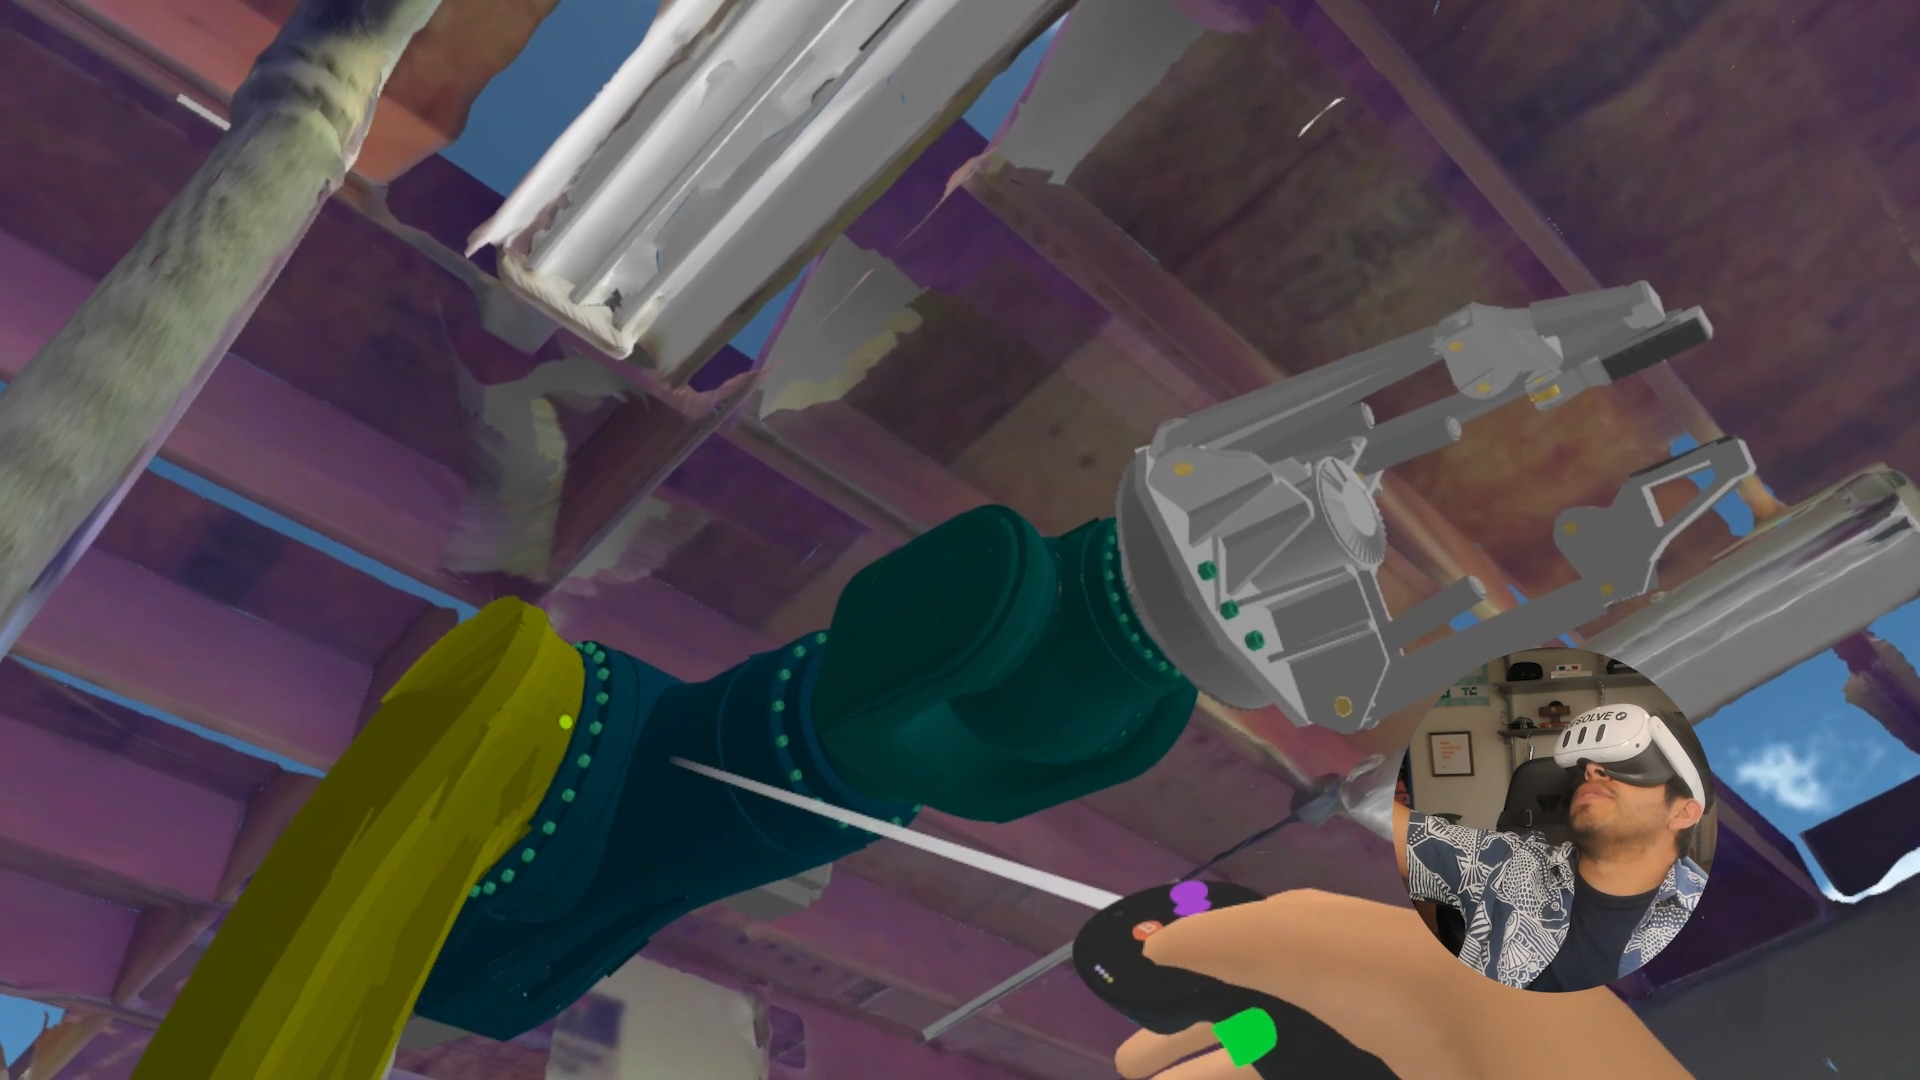
To illustrate the practical application of combined data, consider the example of reviewing a robot arm model in the context of the machine shop sample scan.
With Navisworks you can import a CAD file of a robot arm into the scan to determine if there is sufficient space in our machine shop to accommodate this new equipment.
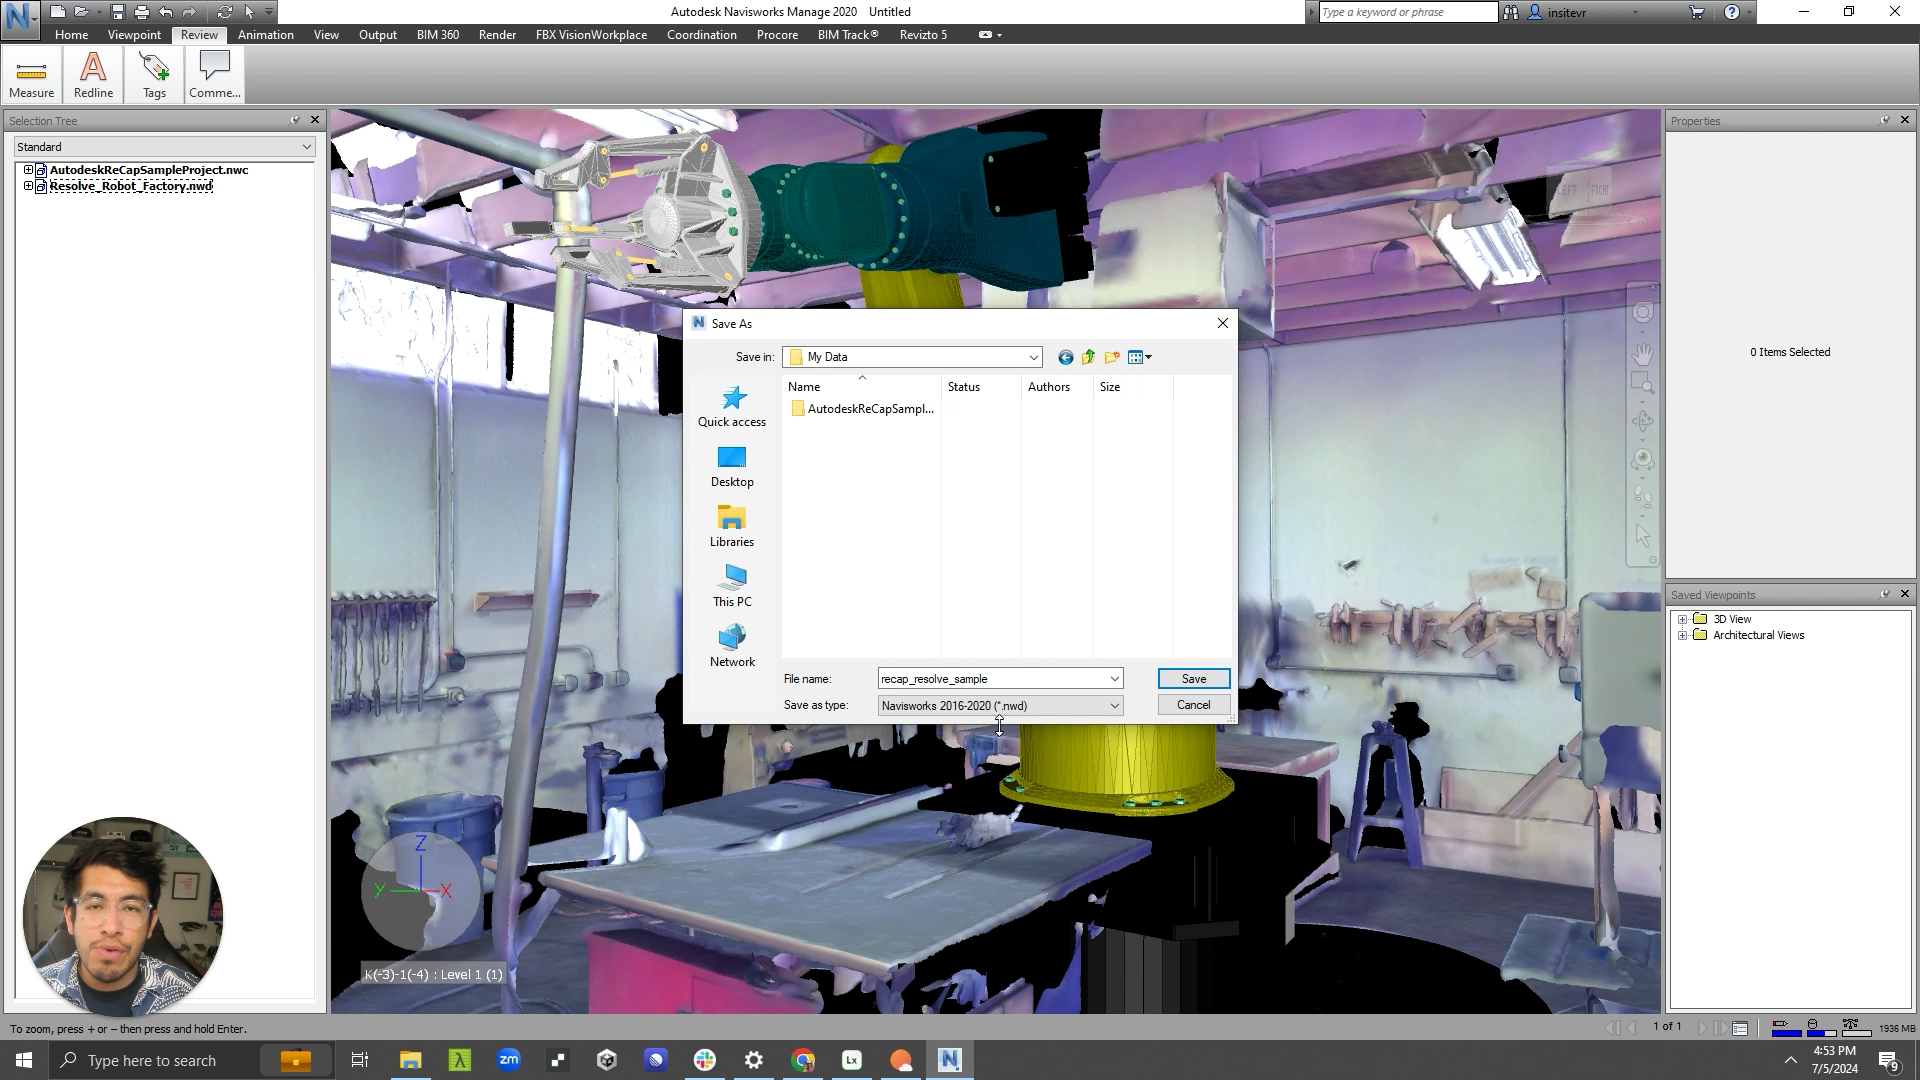
We saved the combined file as an NWD, which includes both the NWC scan and the NWD robot arm model. This format is essential for our next step, which involves bringing the file into a virtual reality (VR) environment with Resolve. Once in VR, we can collaboratively review the setup with other people without requiring them to be physically present in the machine shop.
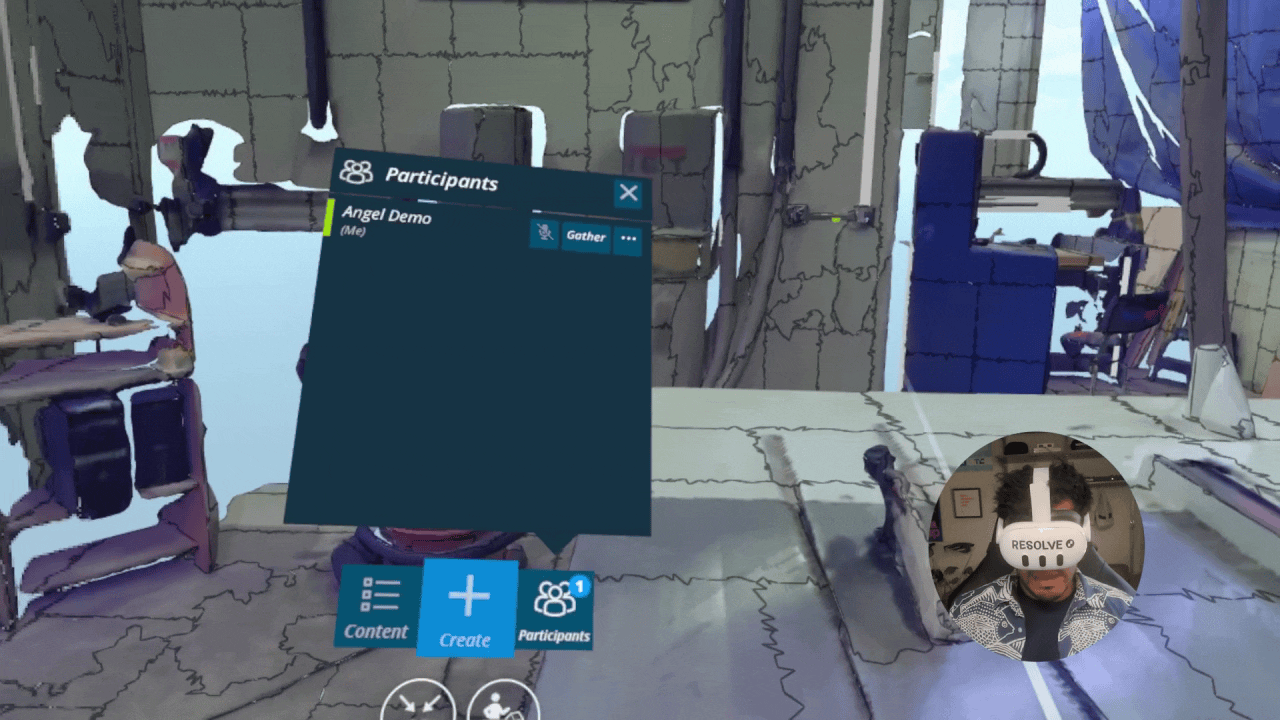
Review in VR with Meta Quest and Resolve
After saving, we now have an NWD file that contains the mesh of our scan, exported from Recap, along with the robot arm model.
You can upload your NWD to Resolve in various ways including a direct file upload, our ACC integration, or our Procore integration.
Once you've brought your file into Resolve you're ready to view it in VR with the Resolve app for Meta Quest!
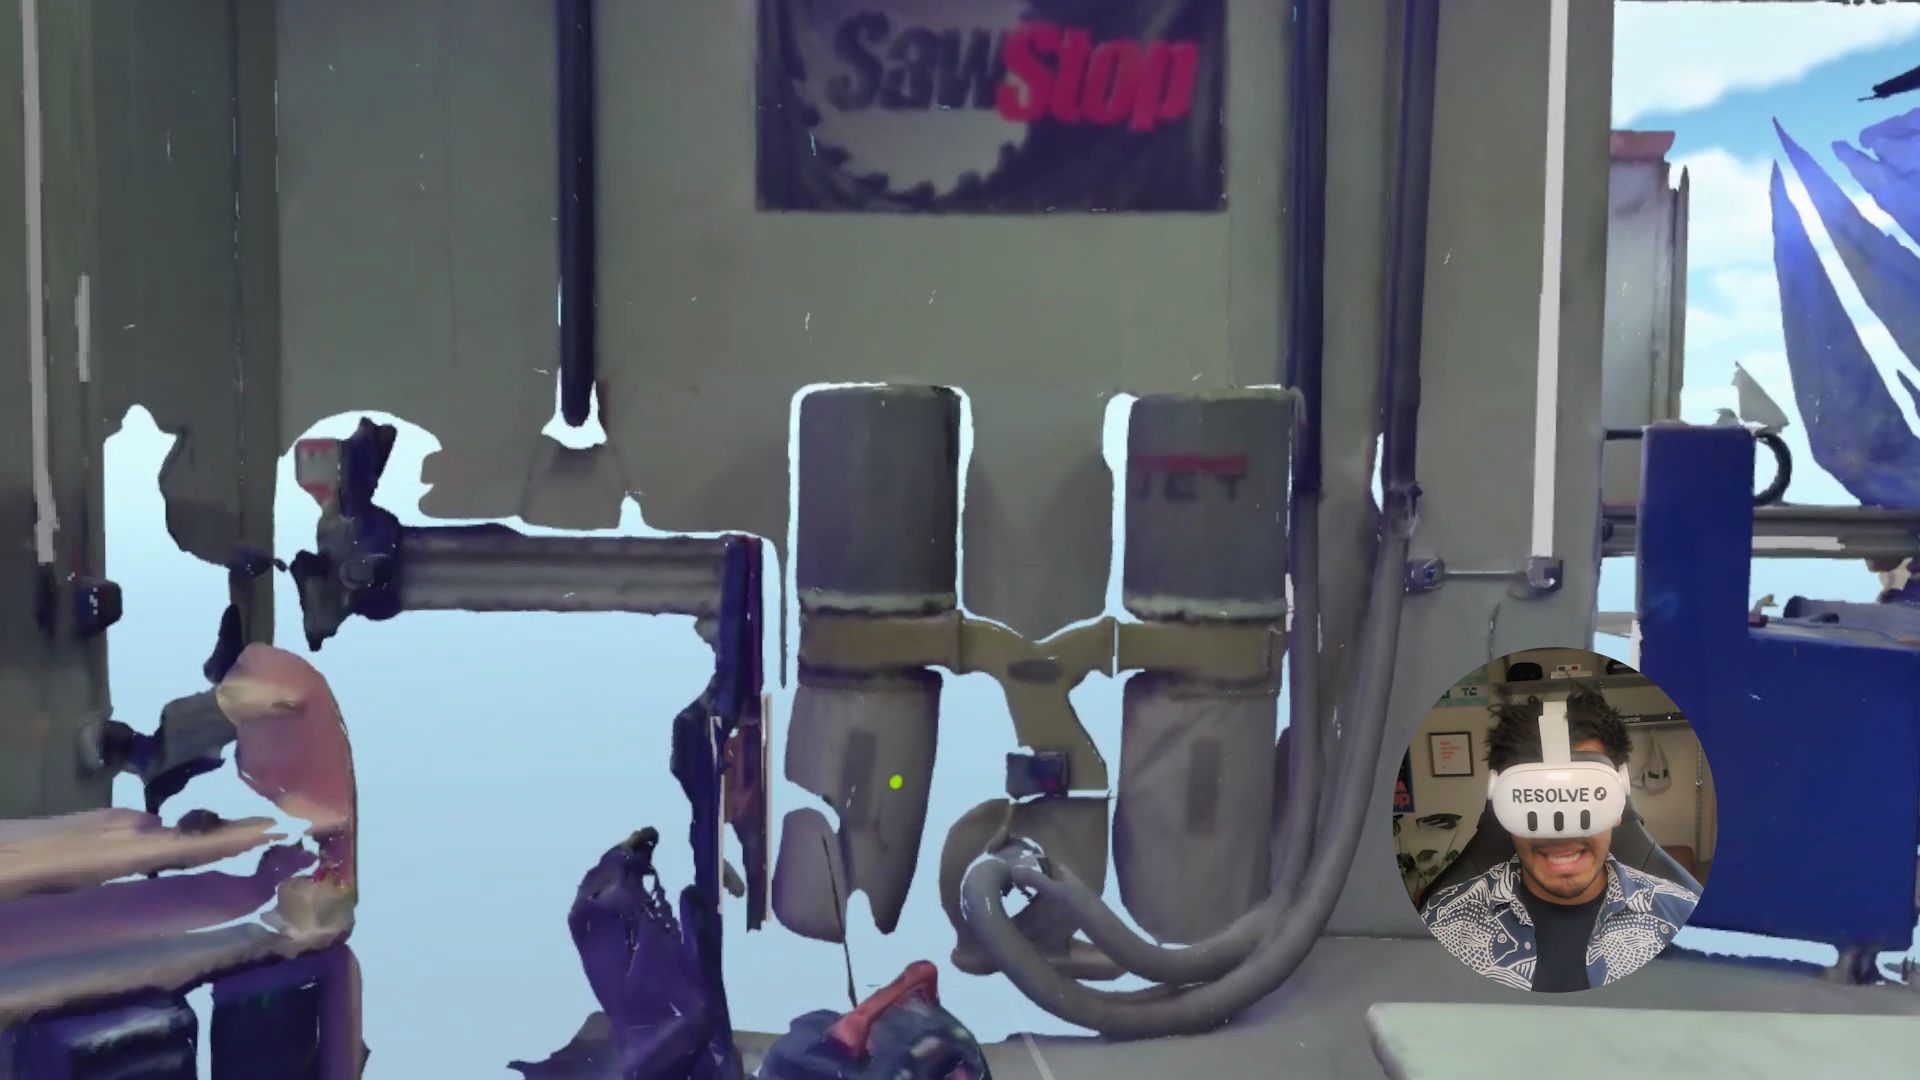
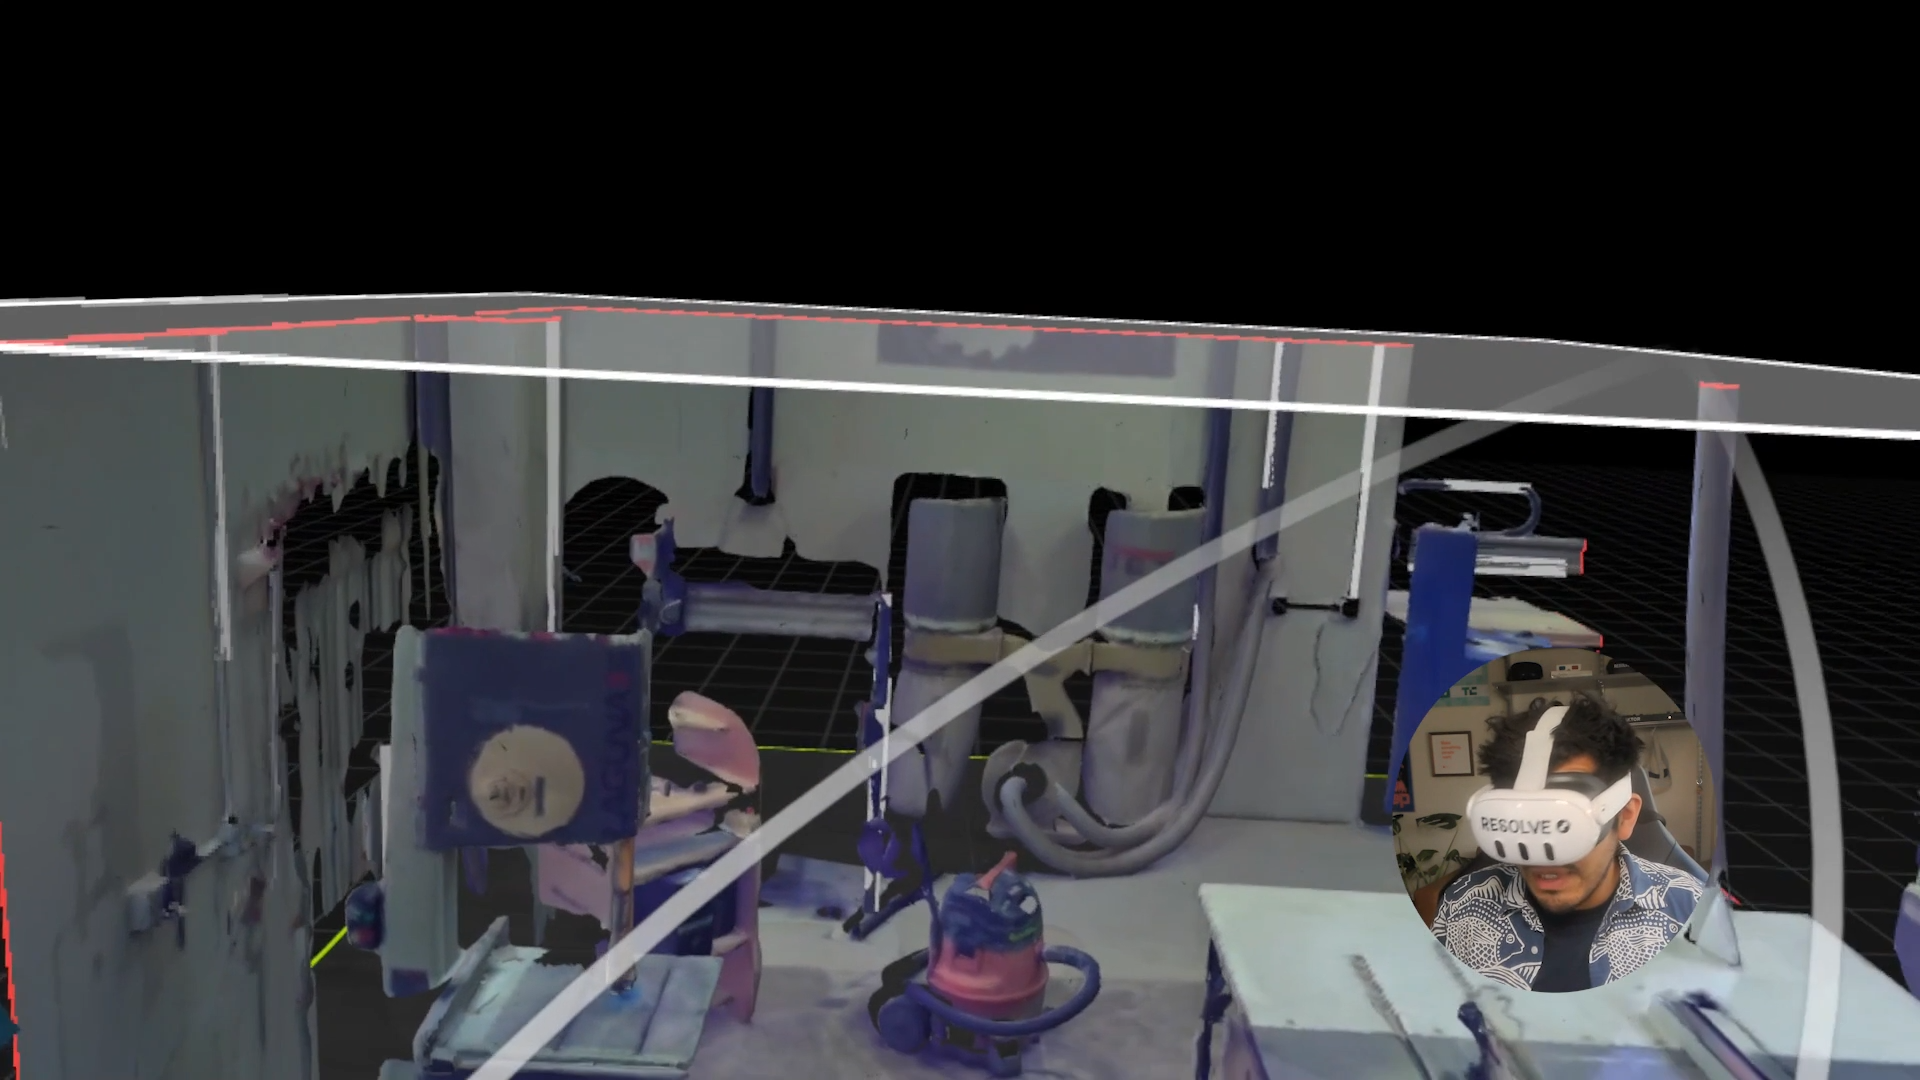
In VR you will find yourself in a virtual version of the machine shop, represented by a meshed version of the original point cloud scan.
Tip: when you first open the scan you may notice jagged lines throughout the model. These are outlines rendered by Resolve to enhance the definition of objects imported from BIM files. However, these can create visual clutter for reality capture files. You can turn off outlines by going to Content > Settings > General and then toggling the "Show Outline" setting.
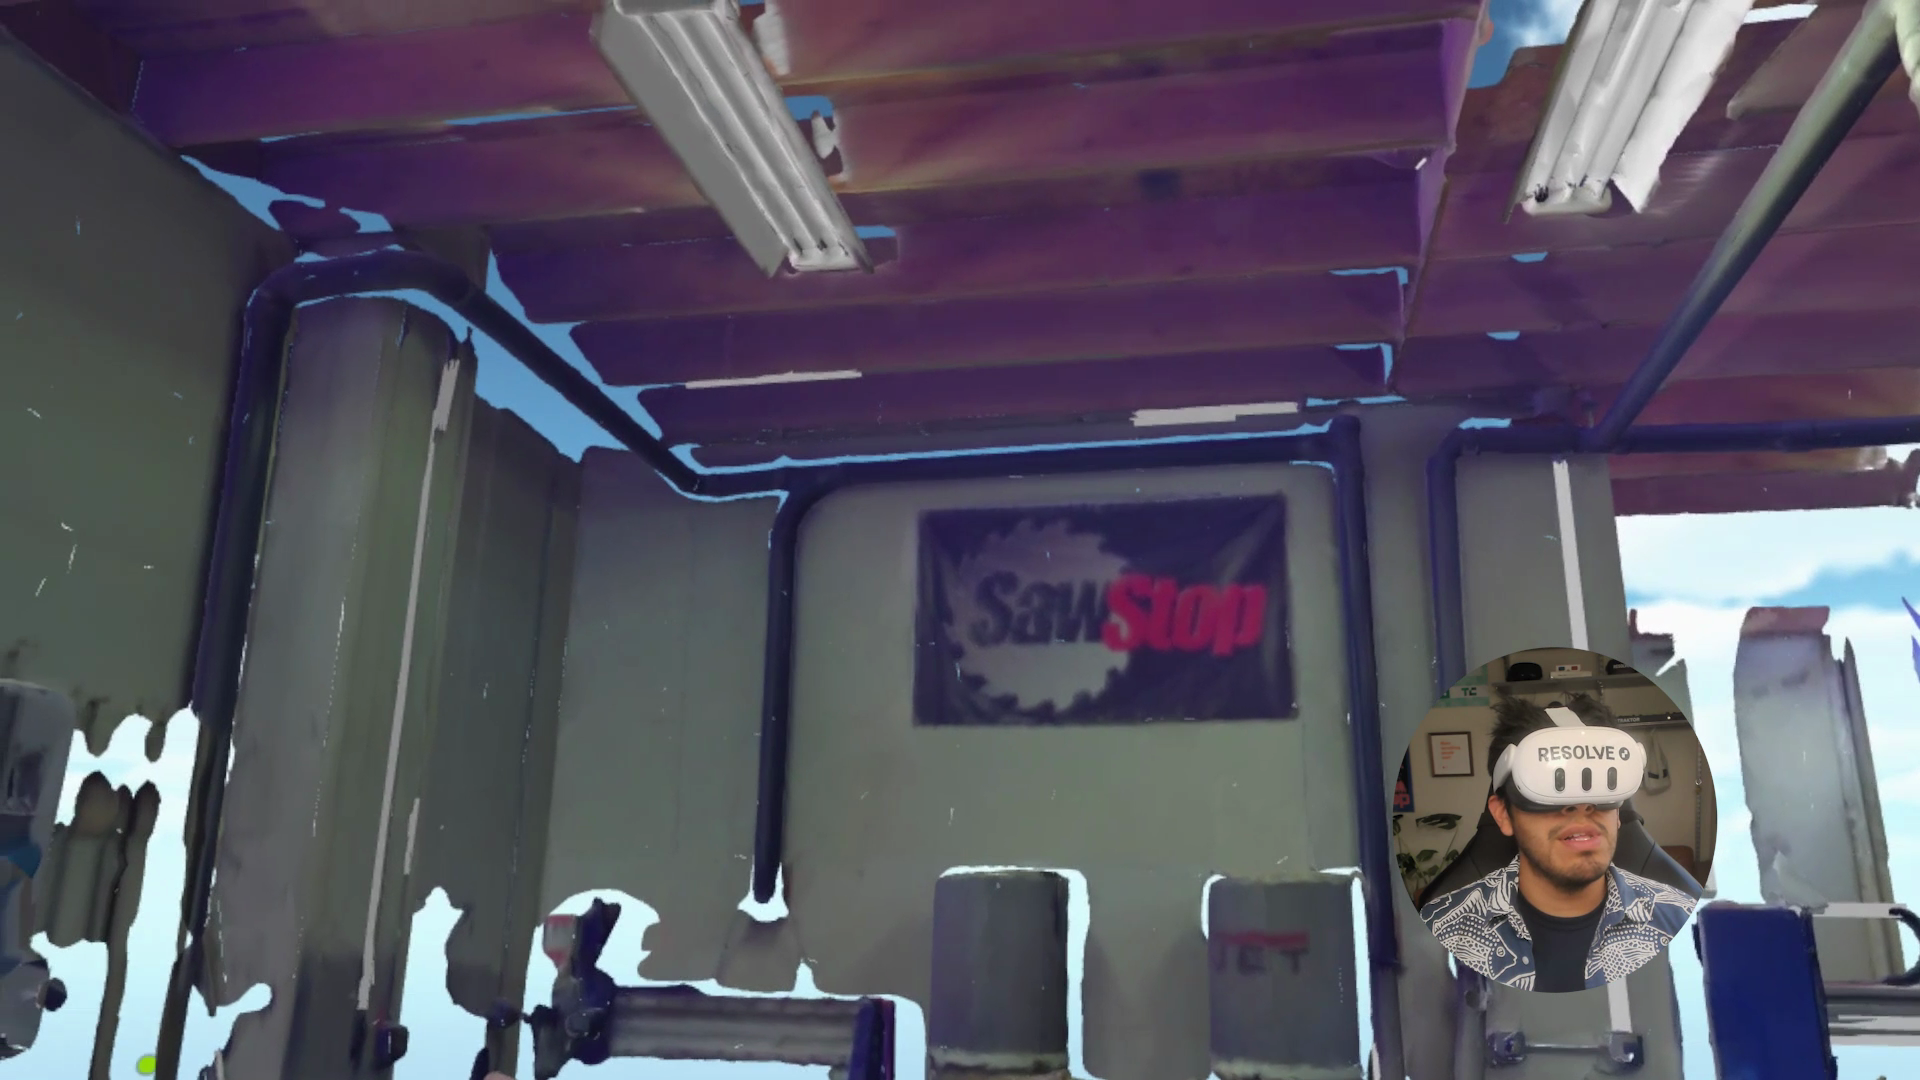
One common question regarding scans is the presence of "holes" in the mesh. These imperfections often manifest as blob-like meshes interspersed with gaps that reveal the external environment. The holes stem from the limitations of the reality capture method employed and the thoroughness of the scanning process. For instance, if a laser scanner is placed in a fixed position within a room, it may fail to capture areas that are not directly visible from its location. Keep this in mind when capturing your data in the field.
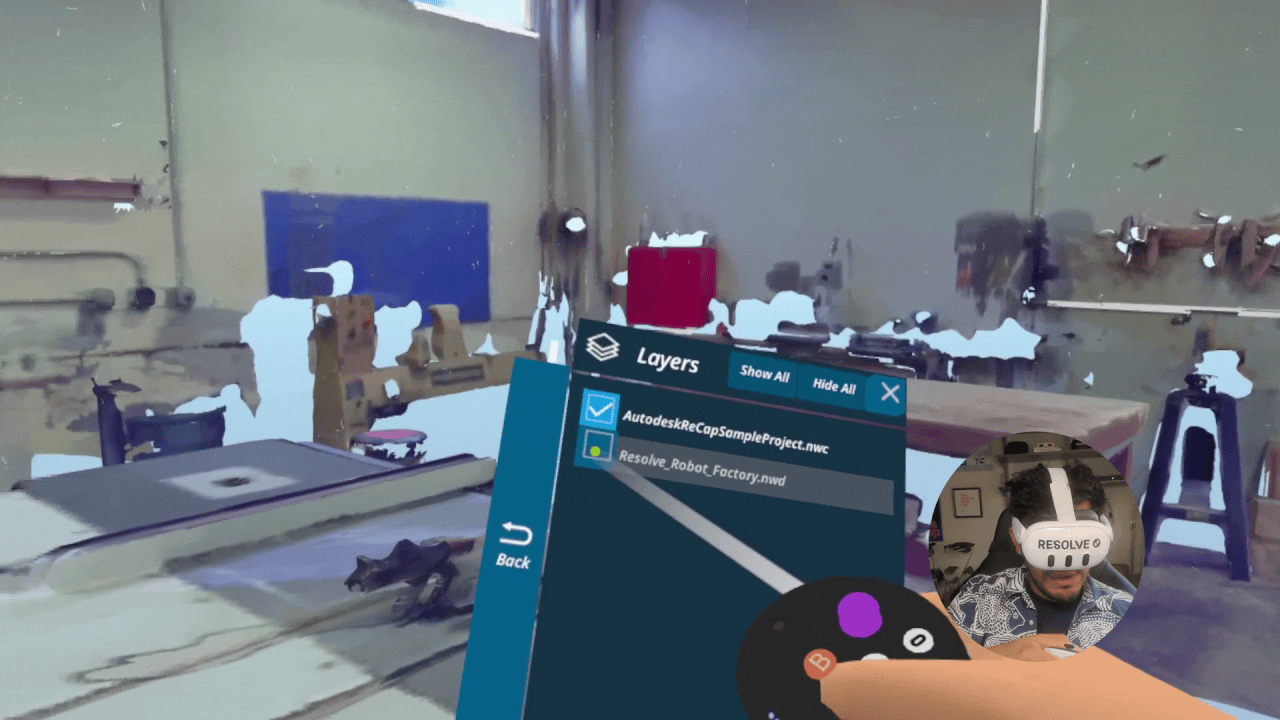
Reviewing BIM data with reality capture data in VR
It can be beneficial to overlay BIM data onto your reality captured data. For instance, if you're doing a retrofit you can see how new equipment may interact with existing conditions. In this example I've combined two files in Navisworks and can turn them on/off in Resolve's Layers menu.
Now you are viewing 3D reality capture data that represents a real space and 3D data of equipment that doesn't yet exist. By visiting the machine shop remotely, we can understand the spatial constraints without being physically present.
In this fictional example, it appears that the space is too constrained for the robot arm. Although it's a tight fit, rearranging some equipment might make it possible to accommodate the arm and you can run through various scenarios in VR.
Alternatively, using scans to track progress and align it with your Building Information Modeling (BIM) file can be another practical application. In this instance, the robot arm is the modeled component, and the scan represents what has been physically constructed on-site. This allows for a direct comparison, which can be useful for quality assurance and quality control (QA/QC) of your as-built models. For example, having a superintendent review the discrepancies between the model and the actual construction can provide valuable feedback for day to day adjustments.
You can also use Resolve's dollhouse mode to get a top down view of your scan. In dollhouse mode you can conduct a site overview or review the day's plan with a team. This method provides an excellent opportunity to discuss upcoming tasks and identify any potential risks that may arise in the field.
Now you have everything you need to review reality capture data in VR. And with Resolve you don't need a PC to handle your large files - everything works with just a Meta Quest.
Do you want to upload your own model to review in VR? Sign up for a free trial.
Resolve builds software that makes 3D building information models more accessible so teams can find critical issues that save time and money on new construction. Resolve's Wellington Engine can render large BIM files on the standalone VR devices making it a scalable, easy to use solution for project teams. Resolve is used by leaders spanning industries like food & beverage, water treatment, data centers, biopharmaceuticals, and green energy.